Contrary to what many think, baking bread is not at all difficult. It doesn’t even have to take up much of your time. Sure, many recipes require lots of kneading, exact temperatures and keeps you occupied for hours. But in the age of the no knead bread there’s no need for any of that.
No knead breads are one of the most forgiving things you can make. The dough is done in a couple of minutes and then you just leave it until you’re ready to shape it into a bread and bake it. Perhaps after you’re back from work, or when you get up in the morning.
And if your plans change – or you’re just too tired, you can always just knock the air out of it and put it in the fridge for a new attempt the following day.
If that’s not forgiving I don’t know what is!
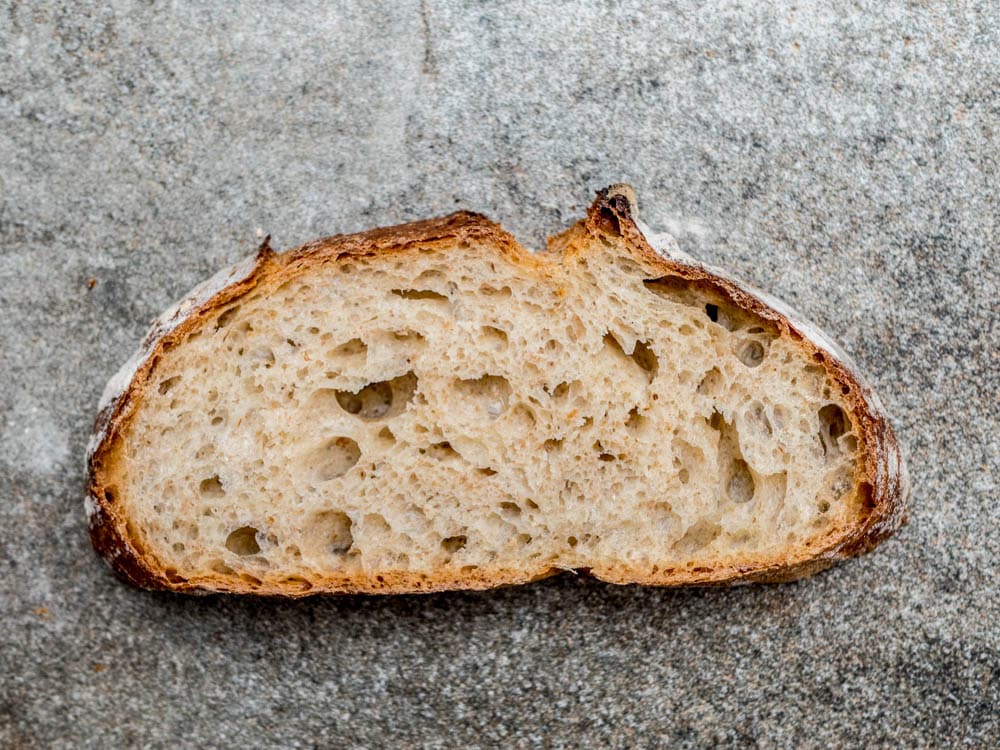
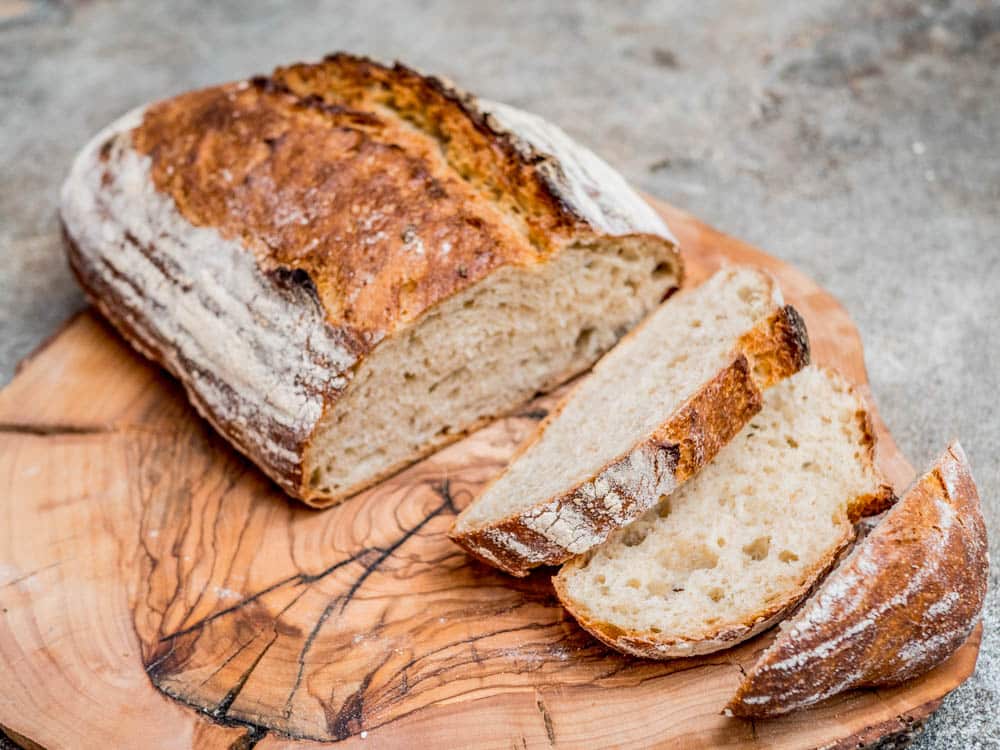
This recipe is for a bread I mage several times a week. It’s light enough to go alongside dinner, and wholesome enough for breakfast or lunch.
It’s even healthy – as most homemade breads are. Where breads made in factories have all sorts of additives to provide the maximum amount of rise in the least amount of time, this bread only includes what is necessary: Flour, salt, water. And a little yeast.
What makes no knead bread so tasty
There are primarily two things that make the no knead bread so tasty, none of them related to the absence of kneading.
First, the dough has a high water content. This makes the bread moist and helps develop nice little air pockets in the crumb.
Second, the long rise gives flavour the time it needs to develop.
And the combination of the two – lots of water and lots of time – ensures the gluten network (which keeps the bread from collapsing when it rises) develop perfectly all on its own, without any kneading required.
How to get professional looking no knead breads
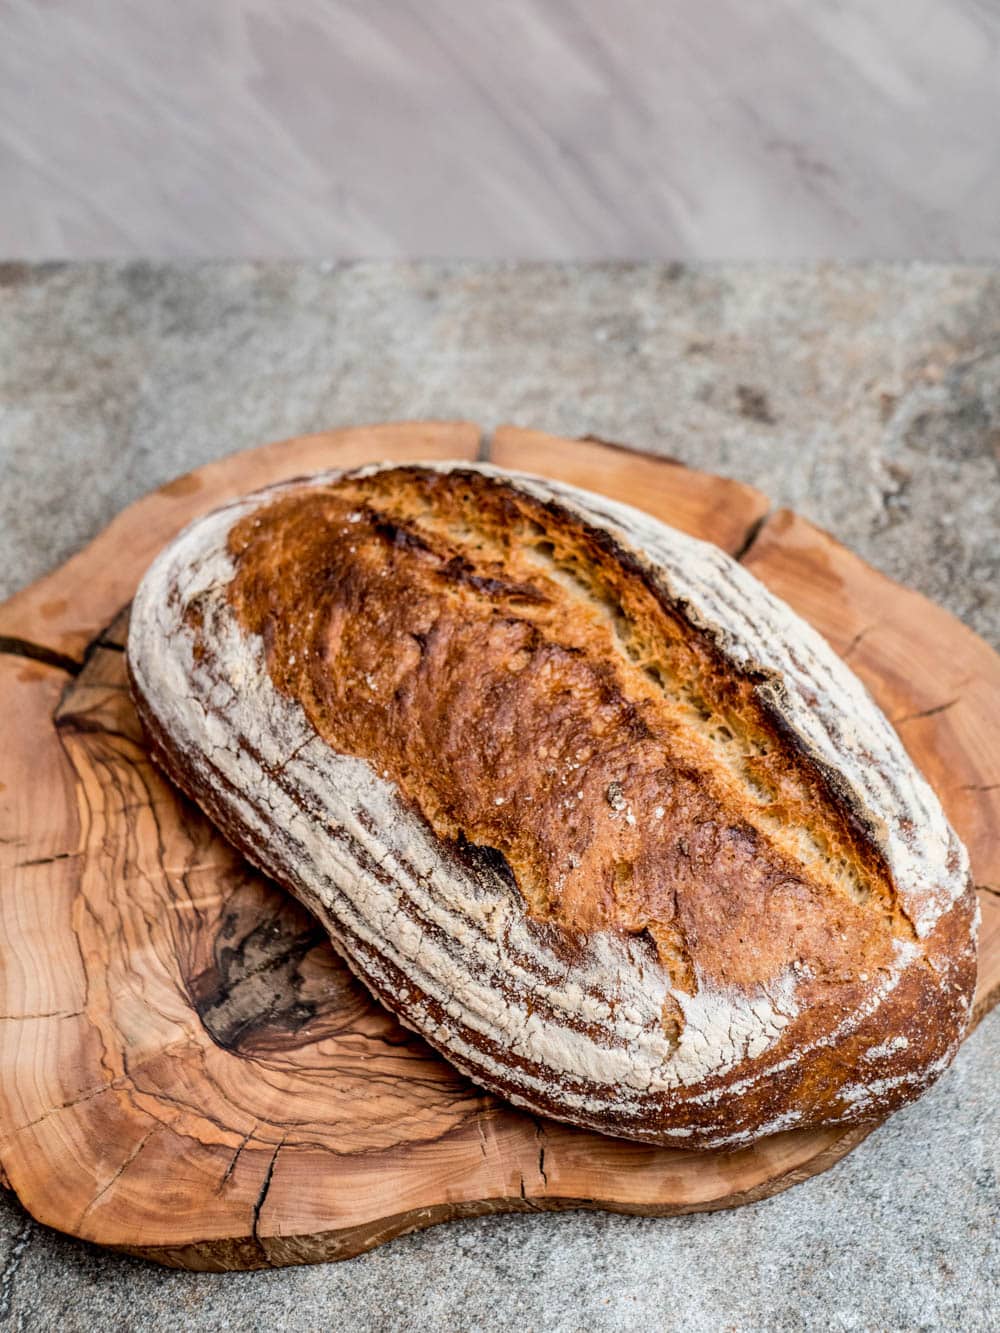
No knead breads are commonly baked in smoking hot cast iron or clay pots. Keeping the lid on during the first part of cooking emulates the effects of stone ovens saturated with steam used in professional bakeries. It gives an excellent oven rise and beautiful breads every single time.
I have only one such pot, however, and it is large and circular. When I bake breads in it, the breads become…large and circular.
For me, that’s not practical. Besides, I don’t particularly enjoy carrying several kilos worth of scorching hot cast iron with loose parts around the kitchen, which I’ll need to both before putting the bread in the oven, then taking off the lid, and finally to take the bread out of the oven.
Instead, I use a baking stone for heat. A splash of hot water to the bottom of the oven creates steam.
This isn’t as fancy as it sounds. I previously used a 2 cm (1 in) piece of granite cut to measure by a kitchen countertop maker. Now, I use the same material as in bakers’ stone ovens, but cut to home oven size.
Other materials also work well and there are plenty of options available online. A pizza stone is better than nothing – and the thicker the better.
The point of the baking stone is to give lots of heat from below. This allows the bread to rise as much as possible before the crust forms, stopping any further rise. The thicker the stone, the more heat it’ll retain and give your bread as soon as you put it in the oven.
Don’t worry if you haven’t got one though. You’ll still get decent bread using a regular oven tray!
My baking equipment
Baking bread is not an activity that requires a lot of gadgets.
To me, the only crucial one is a good kitchen scale. When it comes to baking, weight measures beat volume measures hands down. I always weigh all ingredients when baking – including water.
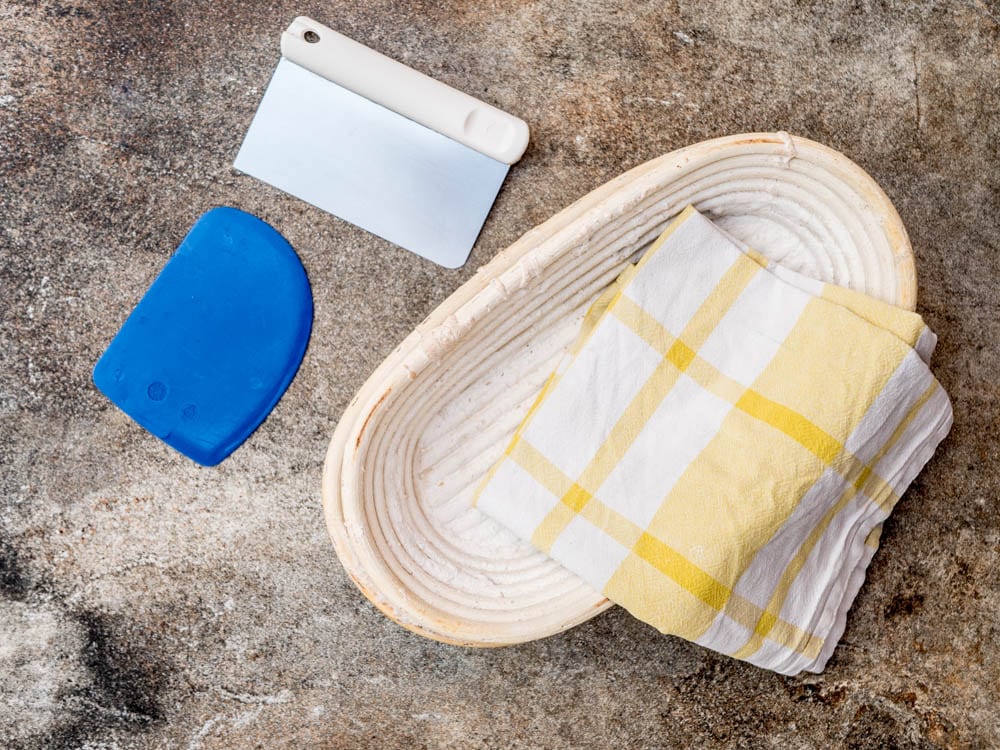
I find dough scrapers useful and keep to different types, one made of plastic and one of metal. These are cheap and very helpful when it comes to getting the dough out of the bowl and for shaping the loaves. If you don’t have them, a baking spatula and your hands will do the job, if not quite as well.
I use proofing baskets for the final rise. They allow the breads to keep their shape and help make sure your breads come out looking beautiful. If you’d like to bake your own breads on a regular basis I recommend getting them. If you don’t have any, use a large bread tin lined with a floured kitchen towel instead.
Which flour to use in bread baking?
While the method and process is the most important factor in how your bread turns out, the flour you use also has a significant impact. With this method, you’ll get good results with virtually any brand of flour.
That said, small scale produced organic flour is often far superior to the mass produced brands. They may not rise as much or as fast (mass produced flours are often treated and have artificial additives added), but the flavour and crumb is usually much better.
There’s no one size fit all, so I recommend trying a variety of flours that are available to you and within your budget.
While you can use all purpose flour, bread flours are usually best for making bread. They’re higher in protein, which means your dough will be stronger and the crumb and crust just that little bit more attractive.
If flours aren’t labelled as such where you live (they certainly aren’t in my home country of Norway), just check the protein content on the side of the packet. A higher protein content is usually better for bread baking.
Fresh vs dried yeast
In my experience, fresh yeast gives a slightly better rise than dried or instant yeast. If you can’t get hold of it, however, don’t worry – any variety of dried yeast will work just fine too.
How much yeast you need for baking bread depends on three variables:
- The temperature of the ingredients
- The temperature of the space where the dough will rise
- For how long you want the dough to rise
My ingredients and room temperatures are around 20°C (68°F) in winter, and I leave the breads to rise 8-10 hours during the bulk rise. For this, I need around 4 g fresh yeast per kg of flour.
If your place is colder, or you have less time, use a little more yeast. If it’s hotter, or you want to leave the dough for longer, use a little less.
This isn’t an exact science, and there is quite a bit of room to maneuvre – especially if you’re flexible in terms of proofing time. You’ll quickly learn to adapt your dough to the conditions.
But whatever you do, avoid using water that is very hot. I wouldn’t use anything above 25°C (77°F), as it would speed up the proofing time too much. (The long proofing time adds flavour and improves the texture of the final bread.)
A final note on timing
The bulk rise – i.e. the first rise – of this bread is fairly long. If you want fresh bread for lunch the following day, make the dough before going to bed the evening before. If you’re baking the breads in the evening, make the dough in the morning.
The recipe yields two large loaves. I usually cut each in half, and freeze three halves.
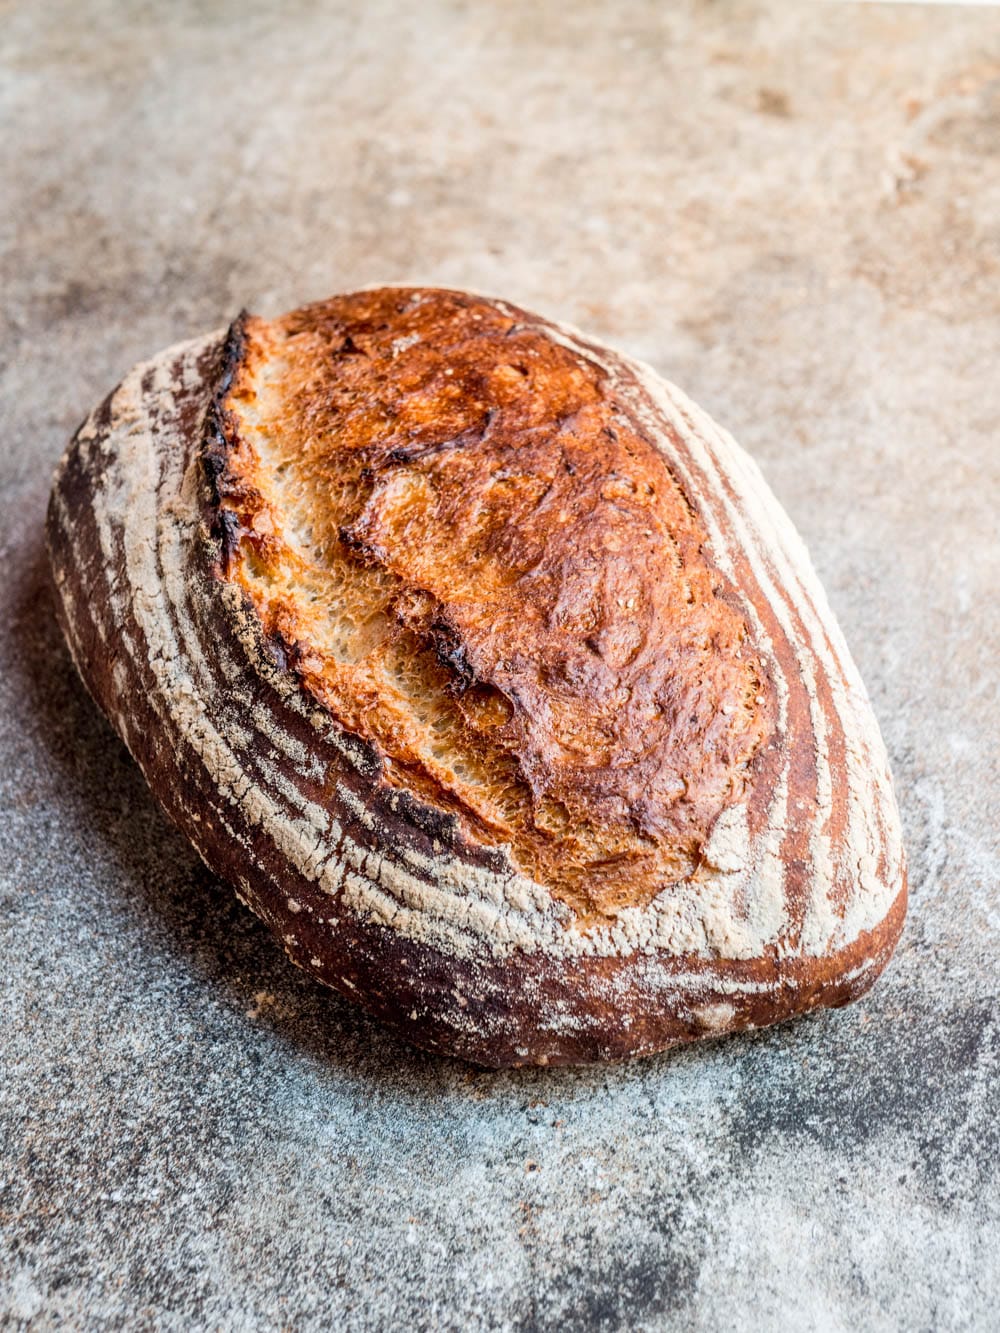
Wholesome no knead bread
Ingredients
- 675 g strong white bread flour
- 325 g wholemeal flour
- 20 g salt
- 4–6 g fresh yeast, or 1-2 g instant (fast action) dried yeast
- 780 g water, at c. 20C/68F
- 3 Tbsp rice flour/white flour 50/50 mixture, or wholemeal flour, to line the proofing baskets
- 150 ml hot tap water
How I make it
- If using dried yeast, check package instructions for activating the yeast before making the dough.
- Mix the dry ingredients and crumble over the yeast. Add water and mix well until there are no traces of flour. I use a sturdy wooden spatula for this, use your hands if you like. The dough will be very sticky. Cover with plastic wrap or a cover and leave to rise for 6-12 hours.
- Turn the dough onto a clean, unfloured work surface. Sprinkle a little flour over the dough and split it into two equally sized halves. Using a dough scrape, flip the two doughs so the floured surface faces down. Fold the edges of the dough towards the middle as if you were making an envelope. With the last move, roll the dough so the side with the folds faces down. Sprinkle a little flour over and leave to rest under a kitchen towel for 20-30 minutes. Usually doing this once is enough, but if the dough has flattened and spread out a lot, repeat the folding process and leave to rest for another 20-30 minutes before continuing.
- Mix equal parts of rice flour and white flour (or use wholemeal flour) and line the proofing baskets with plenty of the mixture. If using regular bread tins, cover with a kitchen towel lined with plenty of the flour mixture.
- When ready to shape the breads, sprinkle the doughs with a little flour and brush off any excess. Flip and shape into a batard, i.e. a bread shape. There are many ways of doing this, see “How to shape a bread” in notes below for my method. Once shaped, place in the proofing baskets, seam side up. Sprinkle a little flour on top, cover with a kitchen towel and leave to rise until doubled or nearly doubled in size, 2-3 hours. If you’re in a hurry you may do it after 1 hour. Your bread will still be great, though the texture may be a little on the bouncy side.
- Place the baking stone (if using) in the second lowest rack. Preheat the oven to
260 °C, or as hot as it goes if less. Make sure to do this at least 30–45 minutes before to ensure the baking stone gets sufficiently hot. If using a regular oven tray you only need to make sure the oven is properly hot before baking. Place a tray at the bottom of the oven to splash the water onto.
- When ready to bake, cover a pizza spade with baking parchment (or use something else you can use to slide the bread into the oven with). Invert the breads onto the baking parchment. Make a 3-4 cm (1-1.5 in) deep incision along the length of the top of the bread at a near horizontal angle. This ensures the dough will rise beautifully in the oven rather than exploding where it feels like. Transfer to the baking stone as quickly as possible. Throw the hot water into the tray at the bottom of the oven and immediately close the oven door immediately. Lower the temperature to
230 °C and bake until golden and cooked through, 35–40 minutes. Open the oven door to release steam after approximately 20 minutes. If you're unsure if the bread is done, insert an oven thermometer. The breads are done when they've reached 96 °C–98 °C.
- Leave to cool completely before slicing the bread.
Video
Tips & notes
- Sprinkle a little flour on the dough and, using your hands, brush away any excess. Flip so the floury side faces down.
- Grab the side furthest away from you, stretch it a little and fold it around 1/3 of the way towards the middle. “Glue” the edges to their new place by gently pushing with your fingers.
- Grab each of the left and right corner furthest away from you and fold in towards the middle. Again, “glue” the edges to their new place by gently pushing with your fingers.
- Repeat the first movement (folding the side furthest away from you towards you) until you have a bread-shaped roll.
- Gently roll with your hands and place in the proofing basket, with the final seam facing up.


