
Baklava is a sweet pastry made from layer upon layer of razor thin filo pastry. It can be made with a myriad of shapes and fillings, but this is the most popular one: Rectangular pieces filled with the most delicious pistachios. Here’s how to Turkish baklava with pistachios it at home.
The origins of baklava
As most dishes as legendary as baklava, many claim to be the original source. Scholars appear to agree however that the baklava we see today likely comes from the Ottoman palace kitchens.
- Read my newsletter on the Ottoman Palace kitchens: The forgotten foods of an imperial palace
The palace kitchen chefs that invented it were likely inspired by one or several similar pastries from other food cultures. The Roman, Assyrian and Central Asian kitchens all have similar dishes that could have served as inspiration.
But if you’re to put a flag on the baklava we eat today, it should probably be Ottoman Turkish.
The many shapes of baklava
Baklava exist in countless variations, both when it comes to shape and filling.
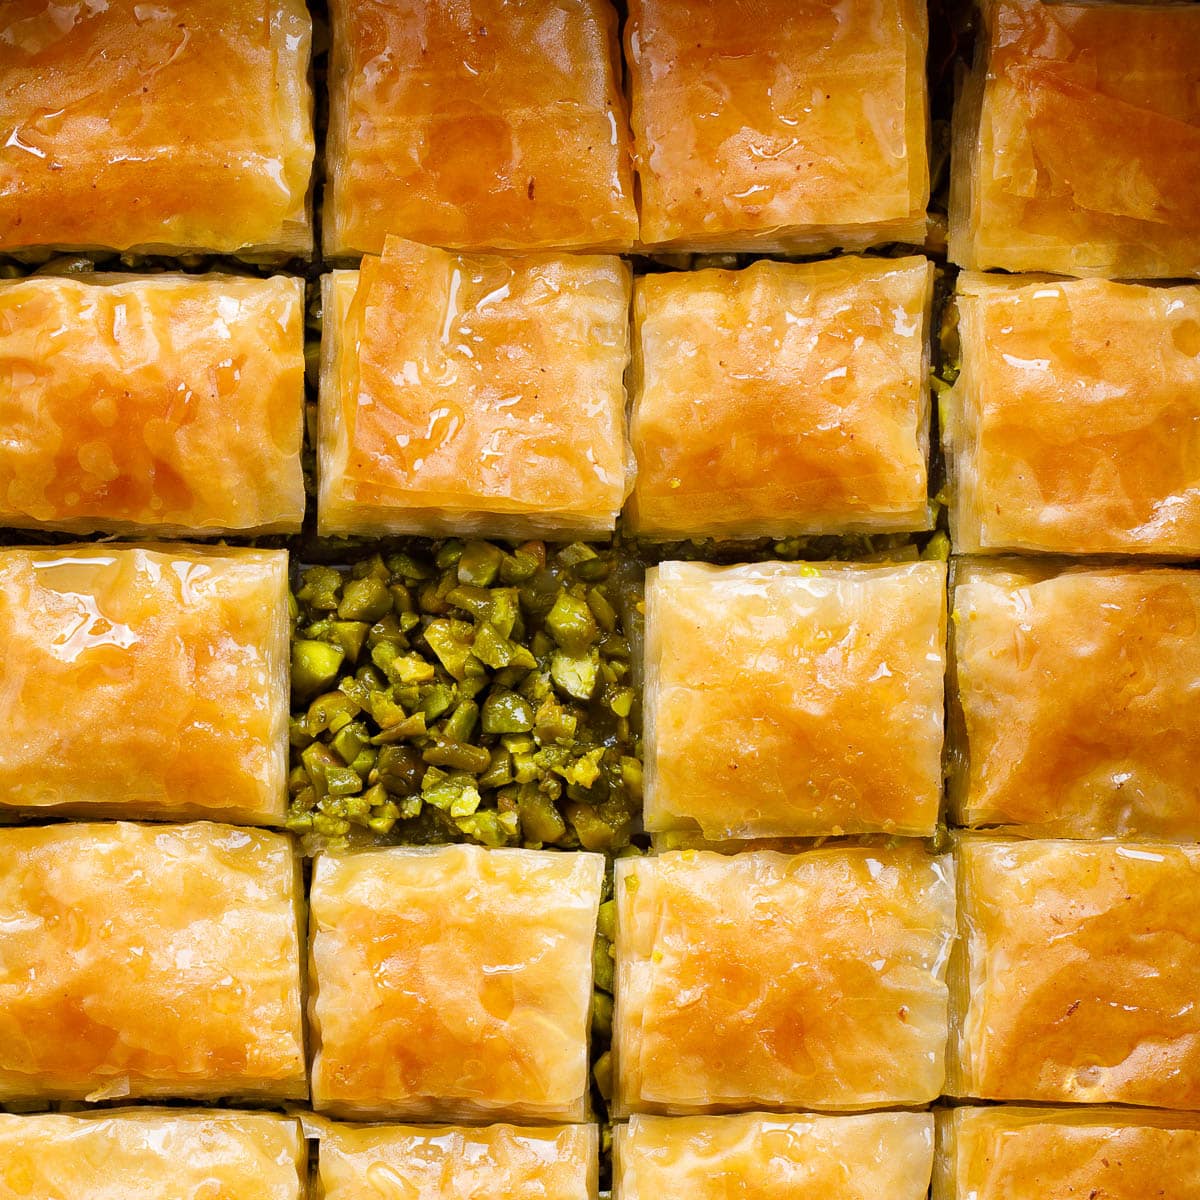
The most well-known and widely available are the small rectangles baked in large trays. This is what you get the recipe for in this post.
However, as the picture below shows, that’s by no means the only baklava in town.
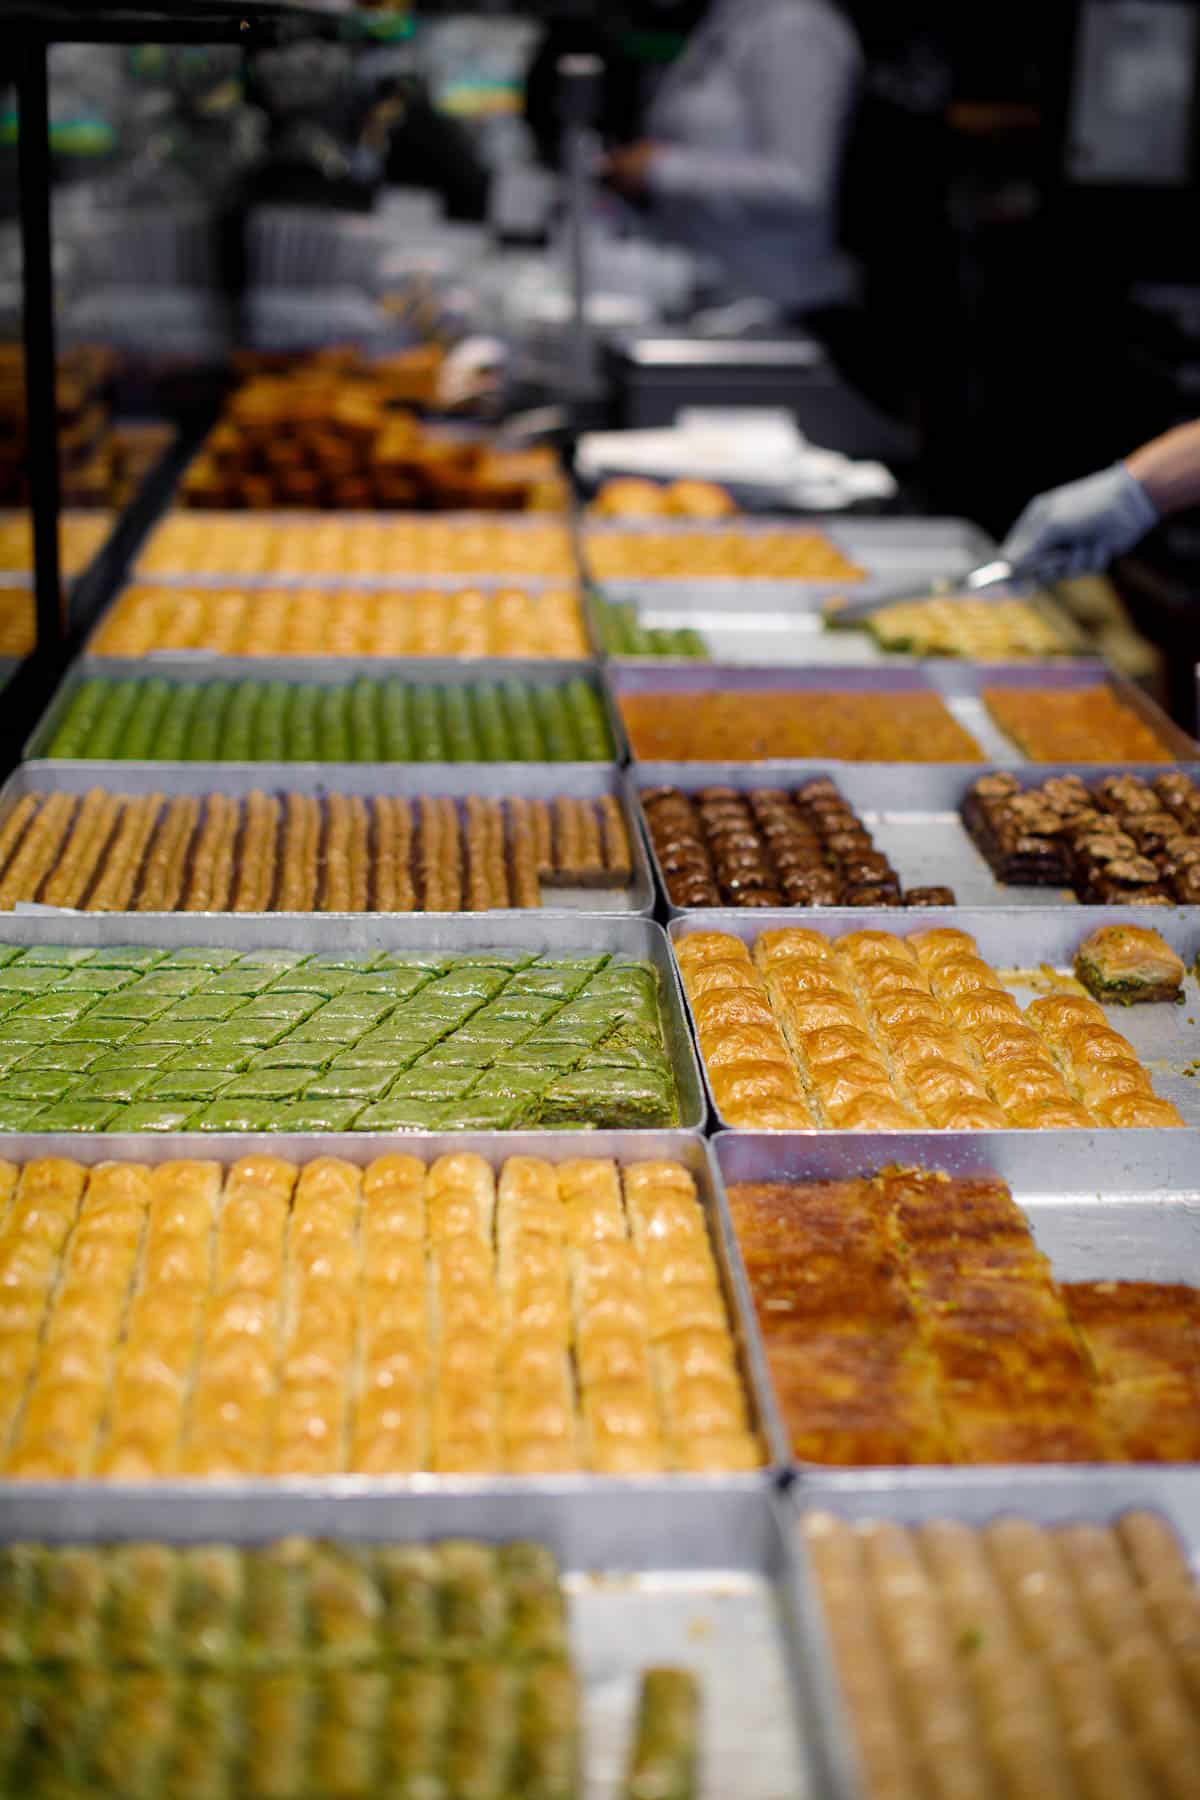
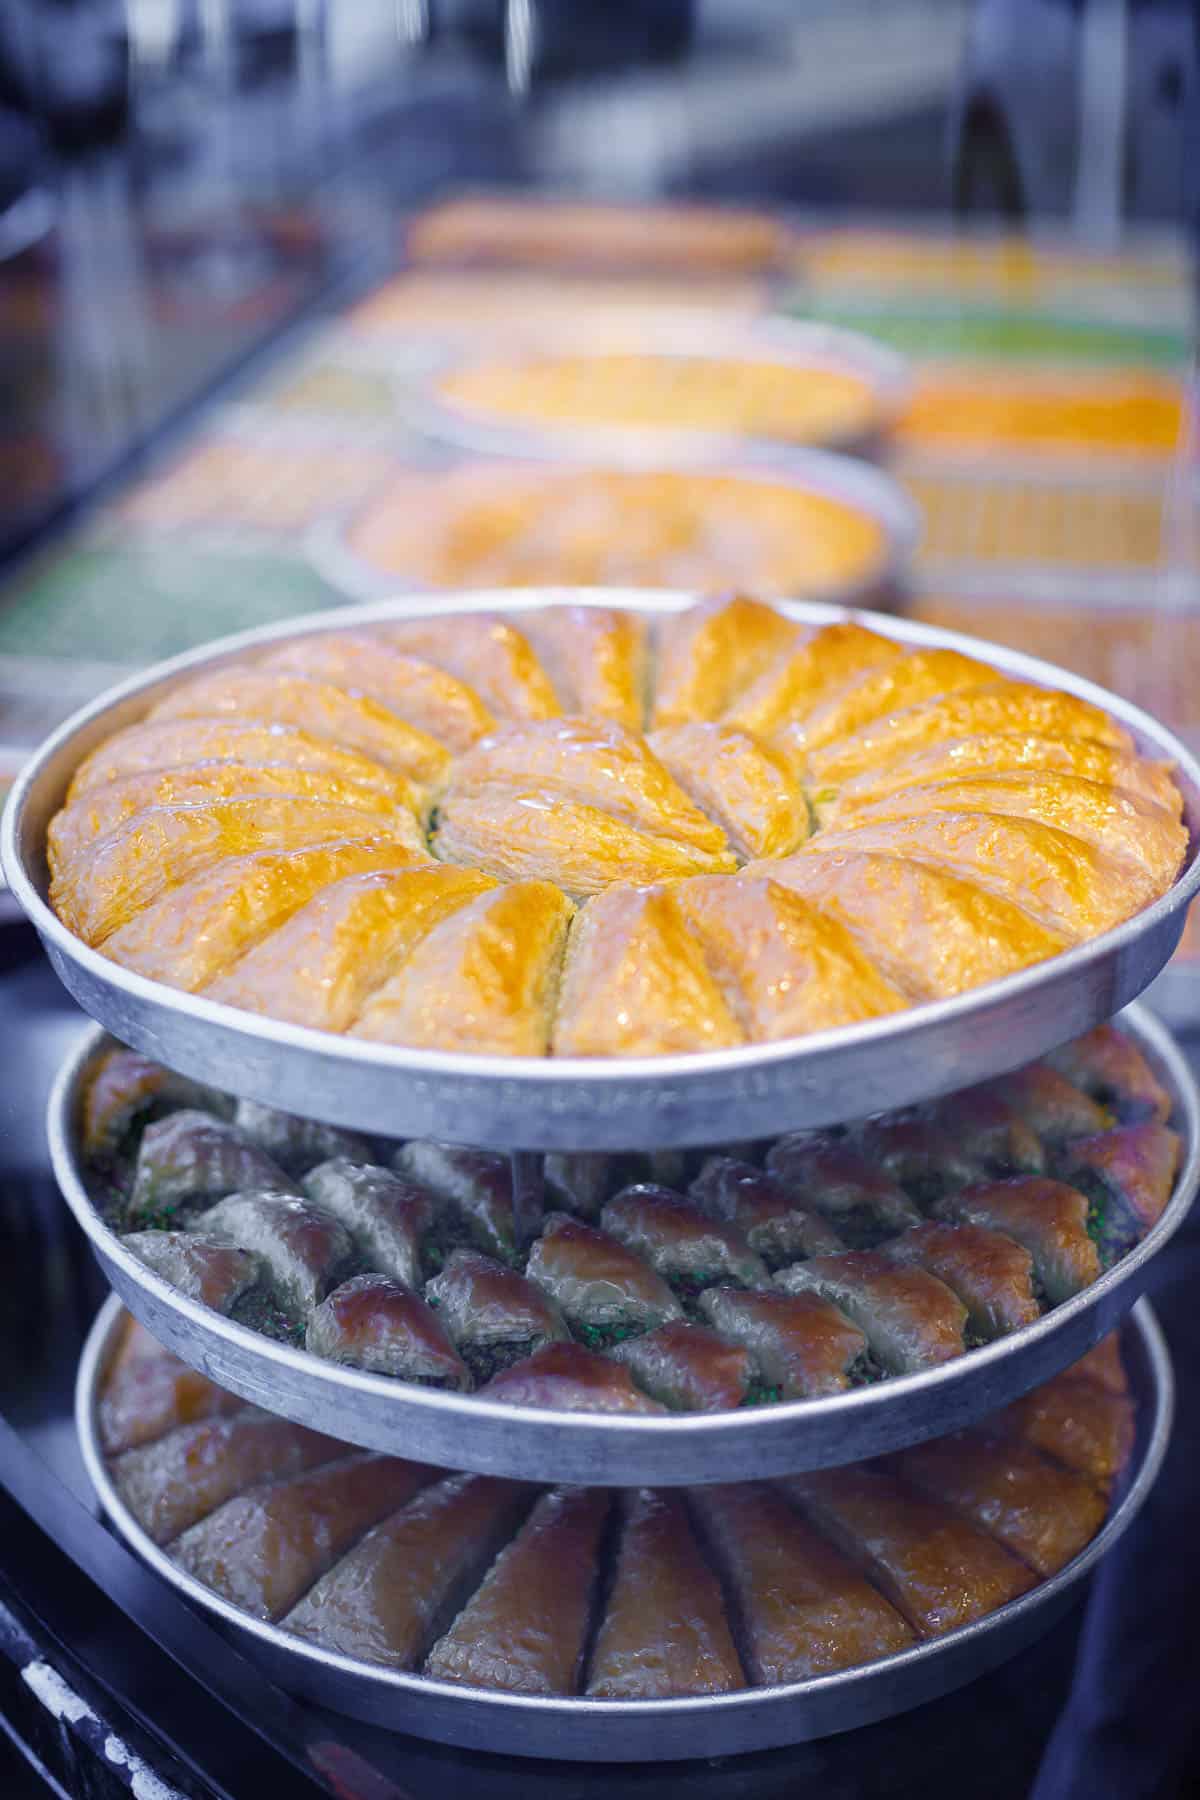
A firm favourite of many Turks is what they call havuç dilimi, meaning “carrot slice”. It looks similar to a classic baklava, but is baked in a circular tray and cut into slices, as if it were a cake.
The “carrot” in the name probably refers to the triangular shape of the slice, which I guess in a very rudimentary way is similar to that of a carrot. This type of baklava is often served with condiments like ice cream, at least in the more theatrical bakeries mostly targeting tourists.
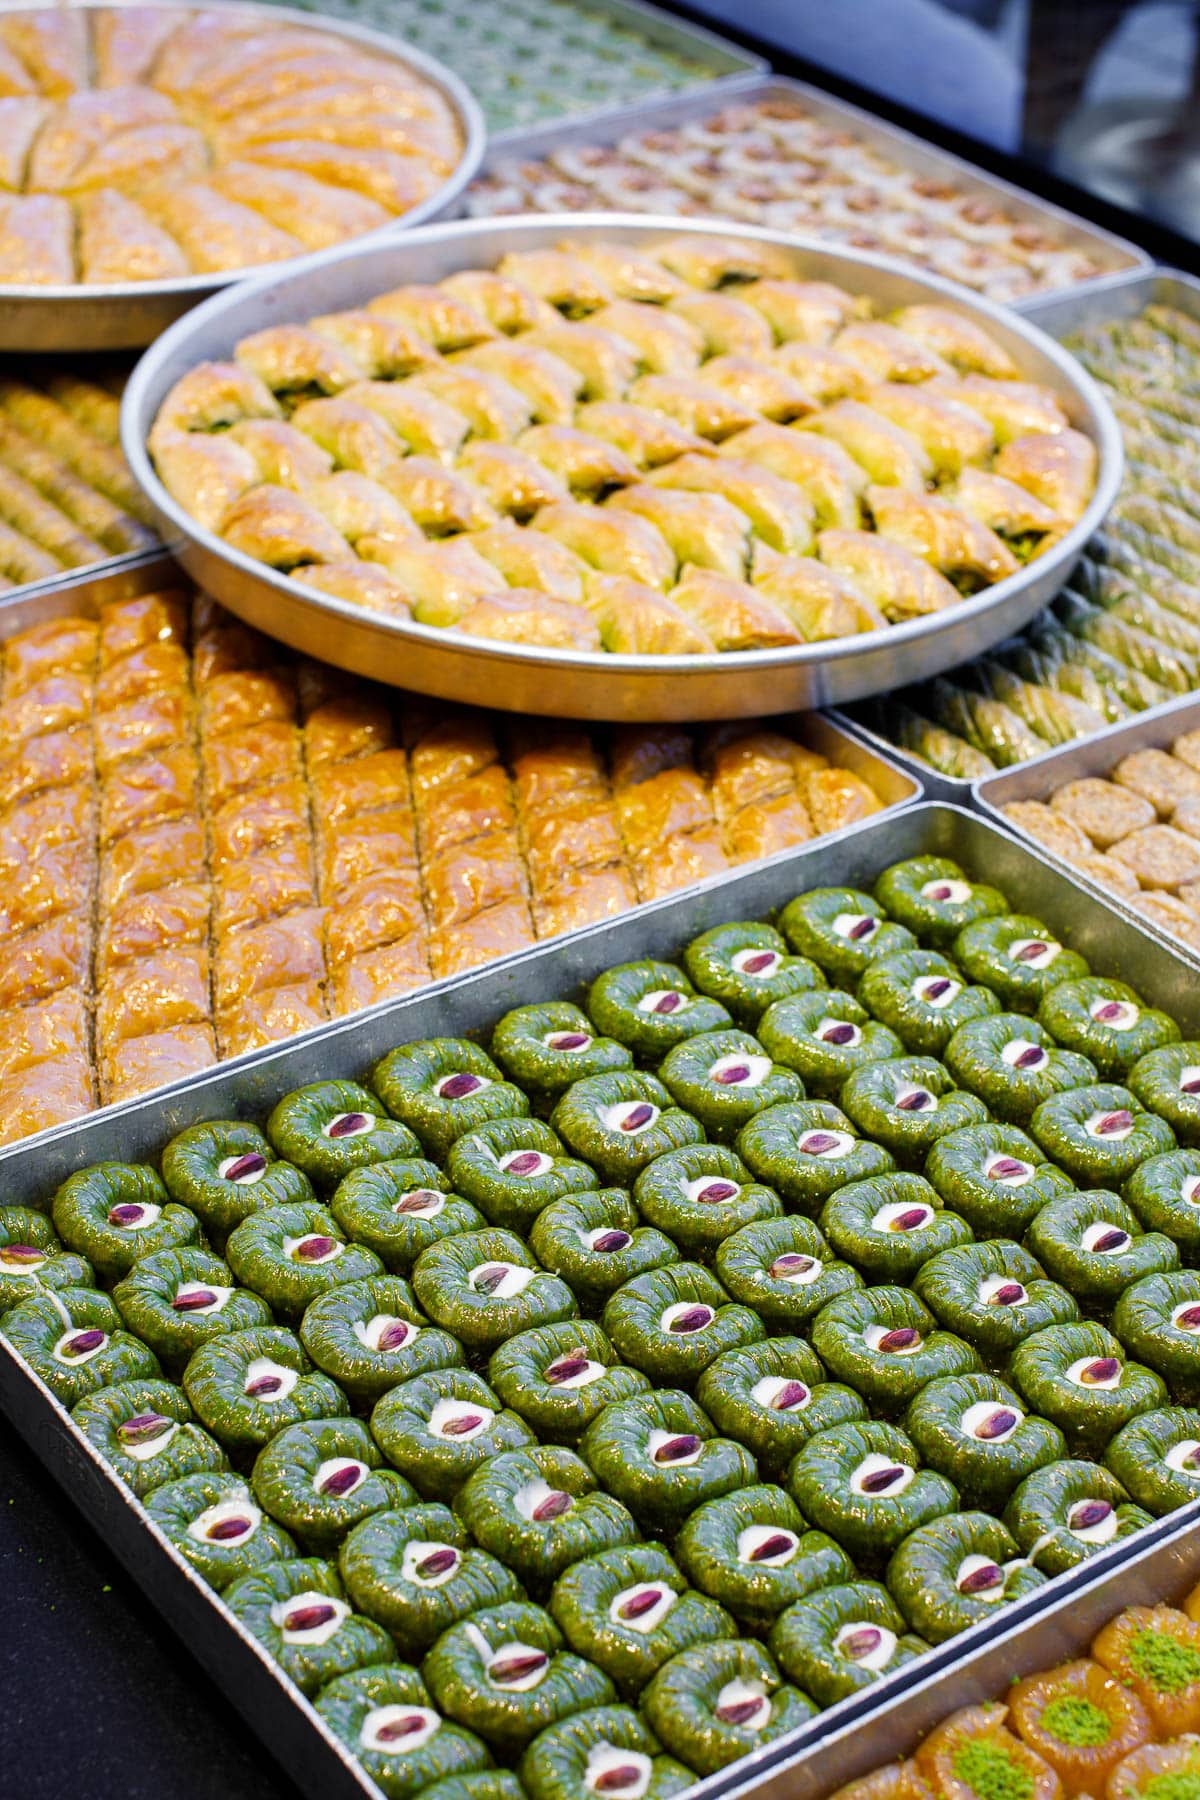
Other versions are circular, rolls, even elaborately and individually shaped ones like bird nests or shells. Some use kadayif, an angel hair type of filo pastry, instead of the thin sheets.
Nuts and scented syrup
Most baklava is filled with pistachios, but walnuts are also fairly common. There are also versions with almonds or hazelnuts, the latter being a speciality of the Black Sea region.
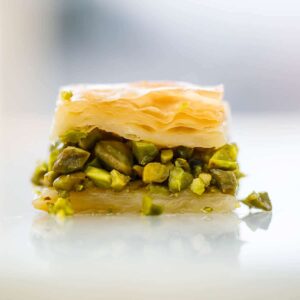
I prefer the nutty flavours over the sweet, so my favourites are the completely green ones. These are filled with pistachios all over, and taste more of nuts than pastry!
There are also differences when it comes to how the nuts are prepared. In Turkey, ground nuts with little crunch are preferred by most, though in Gaziantep, they’re usually more coarse. Syrian baklava also uses more coarsely chopped nuts. Each version gives a slightly different flavour and texture – just think of the difference between chopped almonds and marzipan.
Baklava is actually baked without any sweetener. The intensely sweet flavour comes from drenching the hot pastry with heaps of sugar syrup the moment it comes out of the oven.
The syrup can be flavoured in different ways. In Turkey, a few drops of lemon are common, whereas most places in the Middle East favour rose water or orange blossom water. Each gives a subtle difference in flavour.
There are also completely different variants made with dairy products, such as baklava stuffed with ice cream or kaymak, the Turkish clotted cream.
A variety called sütlü nuriye is topped with sweetened milk instead of sugar syrup. This makes for a very different baklava, soft and juicy instead of crunchy and intensely sweet. This baklava is a recognised speciality from the city of Dıyarbakır in Eastern Turkey.
How Turkish bakeries make baklava
Making Turkish baklava from scratch isn’t a job for just anyone. Explaining the process may be simple, but the execution is a craft that takes years of daily practice to master.
The basis is a wheat dough which is rolled and stretched until it’s so thin it’s practically transparent. This is what we know as filo pastry for baklava (the filo pastry used for making börek is thicker). Making them evenly thick and without holes is an art that demands a lot of respect!
Since the baklava is made in large portions, each piece of dough is quite large. As such, a baklava bakery is filled with enormous tables, often made in marble, with the air filled with flour and starch from all the activity.
The fresh dough is then layered with clarified butter (ghee) and nuts. Unfortunately, some cheaper bakeries now substitute vegetable oil for part or all of the butter, but real baklava should be made with only butter.
According to Turkish tradition, a real Turkish baklava should consist of 40 layers of dough. 20 layers below the filling, and 20 above. This makes for a tall baklava piece.
Before heading for the hot oven, the baklava is cut into suitable pieces in the shape required for the type of baklava you’re making.
How to make Turkish baklava at home
Making your own filo pastry isn’t something people usually do at home. Even passionate home bakers usually buy filo pastry from the shop.
Shop bought filo pastry for baklava will never give the exact same result as those fresh from the bakeries. Simply because the bakeries use fresh, still moist pastry. The shop bought equivalent is dried up and with a lot of starch to keep the layers separate.
But despair not! You can actually make very good baklava at home from shop bought filo pastry. Unless you have a bakery making fresh baklava where you live, it’ll certainly be tastier than anything you can buy outside of the baklava making regions of the world.
Make sure your filo pastry is suitable for making baklava. It should be very, very thin and the shape is usually rectangular. If your shop is Turkish, the package will say “baklavalık yufka”.
Filo pastry made for use in börek is much thicker and not suitable for making baklava.
With the hardest bit removed from the equation, making baklava at home is actually quite simple.

All you need to do is (patiently) butter the filo pastry, one sheet at a time, with a very thin layer of butter. Be careful not to overdo it, or you’ll end up with a very heavy baklava. It’s best to use clarified butter.
Then all you need to do is fill some nuts in the middle, cut it and bake it in a suitable pan.
And not to forget – making a sugar syrup while the baklava is baking. This needs to be put onto the baklava immediately once it’s out of the oven. This is what ensures the baklava is crisp on top and slightly chewy at the bottom.
If you’re a half experienced baker, you probably realise by now you don’t really need a recipe to make baklava. It’s really up to you how many layers of filo pastry you want, how much butter to use, which nuts to fill it with (and how to prepare them) – and how much sugar syrup to put on it.
I there suggest you consider the amounts in the recipe more as a guide than something to be followed religiously.
The recipe is for a small oven pan of approx 25×20 cm (9¾ in x 8 in), which is enough for 20–25 pieces. Obviously, you can use any oven pan as long as you adjust the amounts accordingly.
Ingredients
- 250 g pistachios (unsalted), chopped
- 3 Tbsp powdered sugar (icing sugar)
- 20 large sheets filo pastry for baklava, or 40 small ones (c. 250 g/½lb)
- 150 g clarified butter, or ghee, melted
Sugar syrup
- 200 g sugar
- 120 g water
- 4–5 drops lemon juice, rose water or orange blossom water
How I make it
- Preheat the oven to
 180 °C. Grease an oven pan of approx 25×20 cm (9¾ in x 8 in) with a little butter.
 - Mix the nuts with the powdered sugar. Set aside.
- If your filo pastry sheets are at least twice as large as your oven pan: Brush a single sheet of filo pastry with a thin layer of melted butter. Repeat until you have 20 layers, covering the remaining filo pastry sheets with a moist towel whilst working to avoid the sheets drying out. Cut out two rectangles that fits your oven pan snugly. Place one of the rectangles in your pan. Cover with the nut mixture, then top with the remaining filo rectangle. Cover and leave in the fridge for about one hour, then continue from 5.
- If your filo pastry sheets are less than twice as large as your oven pan: Cut the filo pastry sheets so they fit your oven pan snugly. Place one sheet in the pan and brush with a thin layer of butter. Repeat until you have 20 layers, covering the remaining filo pastry sheets with a moist towel whilst working to avoid the sheets drying out. Cover with the nut mixture, then continue layering filo sheets with a thin layer of butter until you have 20 layers on top of the nut mixture. Cover and leave in the fridge for about one hour.
- Using a sharp knife, cut the chilled pastry into serving pieces. Rustic rectangles are easiest, or you may opt for a diamond shape if you prefer.
- Bake the baklava until golden, around 30–40 minutes.
- While the baklava is baking, add the sugar and water to a small pot. Bring to the boil and keep stirring until all the sugar has melted and you're left with a blank liquid. Take off the heat and add a few drops of lemon, rose water or orange blossom water.
- When removing the baklava from the oven, immediately add ¾ of the sugar syrup (or as much as your sweet tooth prefers) to the baklava evenly. It should sizzle vigorously. Leave to cool, then serve with the remaining sugar syrup on the side for anyone wanting a sweeter version.