Whatever meal you’re having, there’s nothing like fresh, homemade bread to go with it. This recipe for Turkish flatbread, known as pide, is based on long traditions, with a Middle Eastern twist for topping (though you could leave it plain or substitute sesame or nigella seeds, if you like).
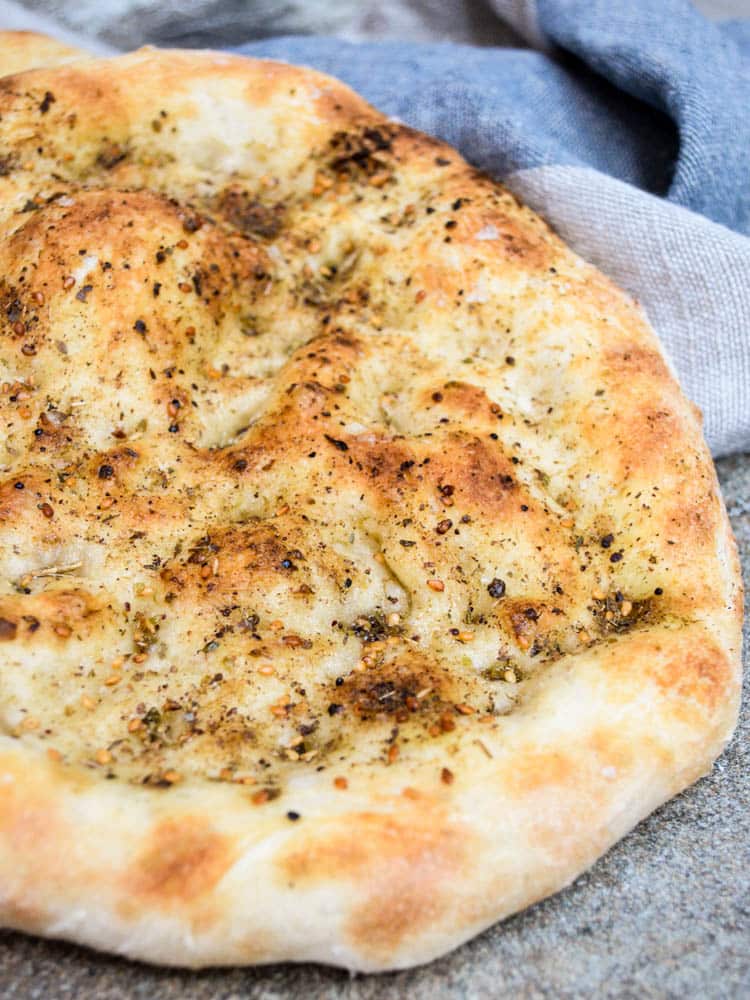
Breakfast, lunch or dinner – the nature of the meal is irrelevant. In Turkey, there must always be bread on the table.
To most, bread means the plain white one you can buy from any bakery. A crumbly, crispy crust and an interior so light and fluffy you could be forgiven to think there’s actually nothing there.
This bread is so ubiquitous it has become subject to the country’s health policy. Both the recipe and price is administered by a baker’s association. In recent times, bran has been added to the recipe while the salt content has been reduced to the point of making the bread entirely tasteless.
But today’s post is not about this bread. It’s about one of the best breads the Turks have to offer. The one that is brought out at more important occasions. It’s about pide.
What is pide?
Pide is perhaps best known as Turkish pizza, shaped a little like a boat.
But it’s also the name of a simpler variety, made from the same dough but without any toppings. This is often served alongside meze or other food such as kebabs in restaurants. During ramadan, a more exquisite version is available.
Today is all about the simplest of them all, though on this occasion I’ve subsituted the more traditional sprinkling of sesame seeds or nigella seeds with za’atar, the Middle Eastern herb mix. (Not at all a common topping in Turkey.)
Based on a traditional recipe
The recipe is based on an authentic one from Gaziantep, a region in south-eastern Turkey known for its pides (and indeed food in general). The book A Taste of Sun and Fire, a collection of local recipes from five well-known local home cooks, is a wonderful collection of recipes, and among them, of course, is pide.
I’ve made a few small adjustments to the original, but the result is much the same and equally delicious: Airy and soft, yet still slightly chewy. With lots of flavour, without running the risk of overpowering other offerings.
Perfect for serving alongside your mezes, or as a snack before the main meal.
A couple of notes on bread baking
I’ve not stipulated exact times for proofing because the variables are too many. It will be affected by the temperature of the ingredients as well as the room (and place within it) that it’s left to rise. Since this dough contains quite a bit of years, it won’t take long in any case.
At my place, the temperature is around 24-25 C these days (summer’s still going strong in Istanbul), and for me each of the three main rises take between 30 and 60 minutes.
That makes these pide a 2-3 hour project. If it is a little cooler where you are, it may take slightly longer.
If I have enough time, I tend to put the dough in the fridge for the second rise (that is, after all the flour has been added – see recipe below).
This doesn’t quite stop the development of the dough but it slows it down considerably, allowing flavours to develop even further. If you do this, it should be ready after 4-6 hours, but you can leave it up to 24 hours.
In fact, don’t worry if you leave it a little too long on this particular rise, because the dough will be knocked back down and have a chance to rise again.
Another way of slowing the process to extract more flavour is to use less yeast, but I don’t recommend that in this recipe – the texture of the bread just won’t be the same. It’ll surely be delicious, but more like a focaccia than a pide in texture.
How to bake pide
The other point I would make is about the baking itself. Pide is typically baked in a stone oven on a high heat.
The aforementioned book even suggests the best results are achieved by just bringing your desired toppings to your local bakery and have them bake it, using their own dough. But, it says “they can be made at home by preheating the oven to the highest temperature”.

I’d argue that the book is a little pessimistic. You can certainly make pide at home which tastes better than what many local bakeries offer.
A few tricks will help you along the way, though.
First, set the oven as high as it can go. Mine maxes out at 300 C, so that’s what I use.
Second, place a baking stone in the oven prior to heating it. This provides heat from underneath, helping those nice big air bubbles form and keeping the temperature drop when you open the oven door to put your pide in to a minimum.
I use a custom cut piece of granite, but I’ve heard of people using bricks and other things too. A pizza stone or pizza steel is of course great for this.
And one final note. I use fresh yeast. I find it always yields superior results to dried yeast, but if it’s impractical to get it where you are, use dried. Nigella Lawson says if you use active dry yeast, halve the amount, and if you use instant yeast, use 1/4 of the amount.
Yields 4 pide, more than enough for 4 people.
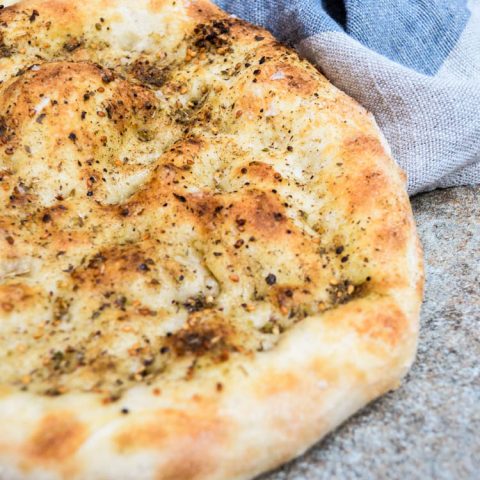
Turkish flatbread – Pide
Ingredients
- 500 g strong white bread flour
- 1 tsp sugar
- 25 g fresh yeast, crumbled, or 6 g instant (fast action) dried yeast
- 350 ml water, at room temperature or cooler
- 10 g salt
- 1 tbsp olive oil, plus extra to top
- za’atar, to top (optional)
How I make it
- Mix 350 g of the flour, the sugar, yeast and water to a wet dough. Cover with clingfilm or a lid and leave until it bubbles and it’s doubled in size. This is called making a poolish, and allows the yeast to develop in a wetter (and therefore more yeast friendly) environment before adding salt (which kills yeast).
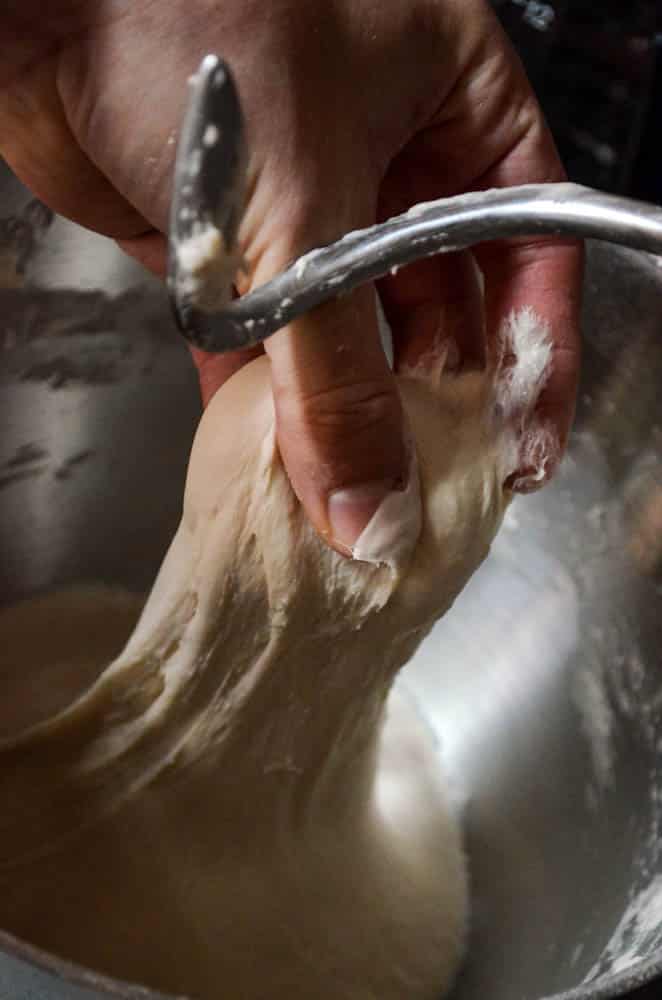
- Mix in the rest of the flour as well as the salt and olive oil. Use a kitchen machine to knead at high speed until the dough lets go of the bowl, 2-3 minutes with my Kenwood. Cover with clingfilm or lid and leave to rise until doubled in size again. This rise may also be done in the fridge, in which case you can leave it up to 24 hours (though it will be ready after 3–6, perhaps even earlier).
- Beat the dough back down by folding the edges towards the middle 4-5 times, turning the bowl as you go along. Wet your hands with a little water first to avoid the dough sticking too much to your hands. Cover again and leave to rise until doubled one final time.
- Set the oven to maximum heat (
300 °C for my oven). Remember to put the baking stone in, if you have one.
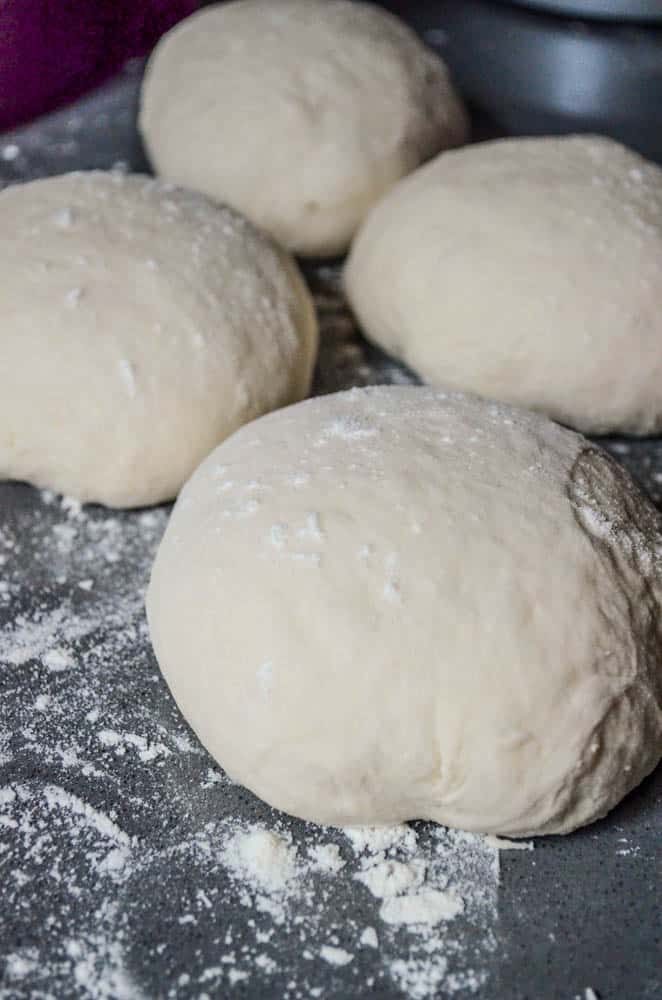
- Scrape the dough out onto your work surface, cut into four and shape into rounds. Do it whichever way is more comfortable for you, then leave for 15-20 minutes. I do it like this: Scrape the dough onto a non-floured surface. Sprinkle a little flour on top. Use a metal dough scrape to turn the dough upside down, leaving the floured side down. Cut into four pieces. Fold each piece towards the middle from each side, flip over again and work between your hand and the dough scrape to a nice, round shape before leaving it for 15-20 minutes (as already mentioned).
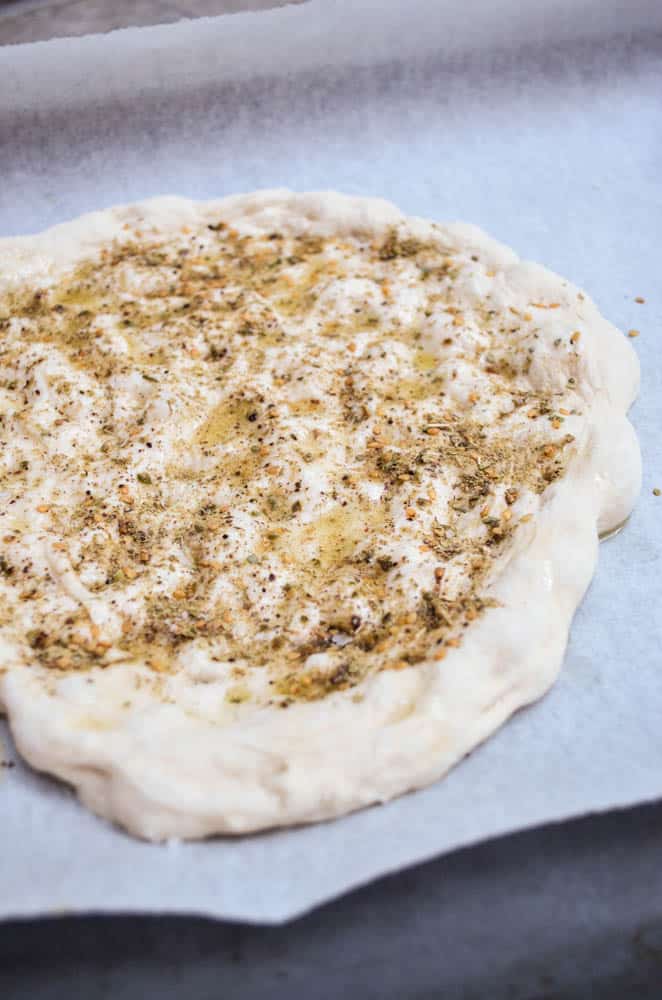
- Use your hands to shape the balls to drop-shaped pide. They should be around 1 cm (⅖ in) thick, a little more on the edges and transfer to a sheet of baking paper or a baking paddle, if you have one, sprinkled with flour. Dent the top using the tips of your fingers. Brush or sprinkle with olive oil and sprinkle some za’atar and flaky sea salt on top. If you want an even softer end result, use a perhaps more traditional milk and egg mixture instead of olive oil. Bake until the pide has started to colour, 5-6 minutes in my 300 °C oven – longer if yours maxes out at something less. Repeat with the other balls – you may be able to bake them in pairs depending on how large you make them.






7 responses
I shape them thinner and cook longer and get something that’s chewy around the edges and almost crunchy in the middle, delicious but definitely not traditional!
Love this method. I made a batch of rolls on the weekend and am so happy with the result. Thank you.
Could you use just plain flour instead of bread flour to get a lighter less dense bread
Yes, you can. Using plain flour will give a softer, less chewy bread.
Ahmet Bey: I love the sound of this method, which is similar to the way I make naturally leavened bread. I will try it – thank you!
I lived in turkey of a year and a half with the airforce at Incirlik, the bread at the cafes had cheese on it- any idea what the type of cheese is? I will absolutely be making this! Thank you!
I am an American citizen who spent his youth in Istanbul (where I was born). After years of experimenting I found a technique which satisfies me, although I am trying to improve it still, at age 66.
2 cups of room temp water
1/4 teaspoon dry yeast
4 cups of flour
1 Tablespoon of kosher salt (if using common salt, cut the amount in half)
Add the ingredients in a large bowl in the order listed. Just mix with a wooden spoon until the dry ingredients are mixed with the water. It will look shaggy and ugly. Cover bowl with stretch film and leave at room temp for about 24 hrs. Resulting dough will be very slack. Pour it into a container with plenty of flour (which can be reused as many times as you wish). Sprinkle some flour on the wet dough, cover your hands with flour, try to stretch and fold the dough. Cut in two, shape into two balls and place in smaller bowls sprayed with cooking oil, cover loosely with plastic bags. Let rest until they rise to double. About an hour or so. No precision required. Heat the oven to max temp with stone or steel in it. Dump one of the bowls in the same flour you used before, flip it, stretch it some into a circle. Place on pizza peel covered with flour, or corn meal, or parchment paper.
Stretch and shape to final form, wet surface with water, sprinkle some nigella seeds, slide onto cooking surface. In my oven which goes to 550F on a stone, it takes about 8 minutes. I just bought a half inch thick steel, I expect a shorter baking time, but I need to experiment.
My original technique receives accolades from Turks saying this has the flavors they remember from childhood.